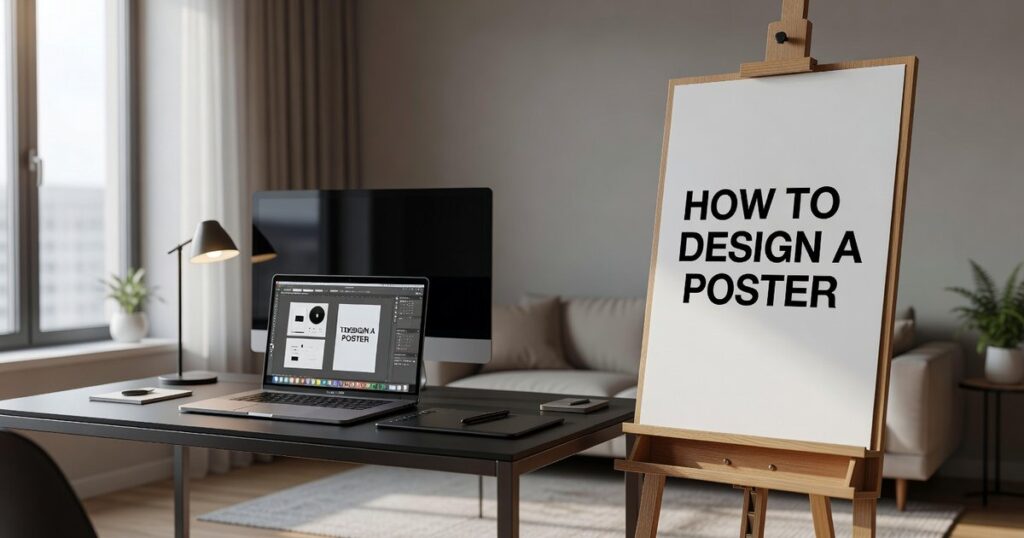
I’ve seen too many good ideas die on screen because someone didn’t know how to turn their vision into a poster that actually works.
You probably have a message worth sharing. Maybe it’s for an event, a cause, or your business. But when you sit down to design it, everything falls apart. The text looks wrong. The colors clash. It just feels amateur.
Here’s the thing: you don’t need years of design school to make a poster people actually stop and look at.
I’m going to show you how to design a poster graphic design gfxdigitational using techniques that work. Not theory. Not abstract concepts. Real steps you can follow today.
This guide covers the design principles that separate forgettable posters from ones people remember. I’ll walk you through the digital tools that make this possible and show you how to use them without getting lost in features you don’t need.
We’ve spent years working with design software and testing what actually produces results. That experience gets distilled here into something you can use right now.
You’ll learn how to organize your ideas visually, choose elements that work together, and use the right tools to bring it all together.
By the end, you’ll have a clear process for creating posters that look professional and get your message across.
The Blueprint: Planning Your Poster for Maximum Impact
Most people open Photoshop first and figure things out later.
Big mistake.
I’ve watched designers waste hours moving text boxes around because they skipped the planning stage. They end up with posters that look busy but say nothing.
Here’s what I do instead.
Define Your Goal & Audience
Before you touch any software, ask yourself one question. What’s the single thing you want people to remember?
Not three things. One.
Maybe you’re promoting an event. Maybe you’re building brand awareness. Whatever it is, write it down. Then think about who’s actually going to see this poster (because a design for college students looks different than one for corporate executives).
Gather Your Assets
Nothing kills momentum like realizing halfway through that you don’t have the right logo file.
I collect everything upfront. Final text copy. High-resolution logos. Quality images that won’t look pixelated when printed. This step feels boring but it saves you from design roadblocks later.
Sketching & Ideation
Some designers say sketching is outdated. They argue that working directly in software is faster.
But here’s what they’re missing.
Your brain works differently with a pencil than it does with a mouse. I create 3-5 rough thumbnail sketches before opening any program. Just quick layouts showing where the headline goes, where the image sits, where the call-to-action lands.
No details. No colors. Just composition.
This is how to design a poster graphic design gfxdigitational actually teaches, and it works because you’re exploring ideas without getting stuck on whether that font is perfect.
Choosing Your Digital Canvas
Here’s where it gets technical.
Raster tools like Photoshop work with pixels. Vector tools like Adobe Illustrator work with math-based paths. For posters with text and logos, vector is usually better because you can scale without losing quality.
(Though I’ll admit, sometimes I use both depending on the project.)
If you’re just getting started, you can skip the blank canvas entirely and use a free printable poster template to hit the ground running. For those diving into the world of digital design, leveraging resources like Gfxdigitational can be a game changer, especially when you want to elevate your projects without starting from scratch. For those diving into the world of digital design, leveraging resources like Gfxdigitational can provide invaluable inspiration and tools to elevate your creative projects.
Creating Visual Hierarchy: Guiding the Viewer’s Eye
You want people to actually look at your poster.
Not just glance at it and keep walking.
The problem? Most posters fail because everything screams for attention at once. Your eye doesn’t know where to land first, so it just moves on.
I’m going to show you how to design a poster graphic design gfxdigitational that actually works.
Start with one dominant element. Pick the single most important thing on your poster. That’s your focal point. It could be your headline, an image, or a graphic that tells your story. Make it big. Make it bold. Make it impossible to miss.
Everything else comes second.
Here’s what I recommend for scale and weight. Your headline should be the largest element on the page. Period. Then your subheadings step down in size. Body text gets smaller still. Contact info? That goes at the bottom in the smallest readable size.
I see designers make the same mistake over and over. They make everything medium-sized because they’re afraid something won’t get noticed. But when everything’s the same size, nothing gets noticed.
White space is your friend. I know it feels wrong to leave empty areas on your canvas. You paid for that space, right? But cramming every inch actually makes your poster harder to read.
White space does three things. It reduces clutter. It improves readability. And it gives each element room to do its job.
Think of it like this. When you’re in a crowded room, you can’t focus on any single conversation. Same thing happens with design.
Now let’s talk tools.
In Canva or Illustrator, you’ve got everything you need. Use the font size controls to create clear differences between your headline and body text (I’m talking 48pt headlines vs 14pt body copy, not 24pt vs 20pt). Choose bold or heavy font weights for what matters most.
The spacing tools matter just as much. Add padding between sections. Use alignment guides to keep everything clean and organized.
One more thing. Test your hierarchy by stepping back from your screen. What do you see first? Second? Third? If the order doesn’t match what you intended, adjust your sizes until it does.
Your graphic design ideas generator gfxdigitational can help you brainstorm layouts, but you still need to apply these hierarchy principles to make them work.
The goal isn’t to make everything visible at once. It’s to guide the viewer’s eye through your poster in the exact order you choose.
Mastering Color and Typography
Most designers overthink color.
I see it all the time. Someone opens Adobe Color and starts building these elaborate five or six color palettes because they think more options equals more creativity.
Wrong.
Here’s my take. Stick to two or three primary colors. That’s it. Your designs will look cleaner and you’ll spend less time second-guessing yourself.
Some designers argue that limiting your palette stifles creativity. They say you need flexibility to express different moods and ideas within the same project.
But here’s what actually happens when you use too many colors. Your design becomes chaotic. The viewer doesn’t know where to look. Everything competes for attention and nothing wins.
I use the color wheel when I need to find combinations that work. Complementary schemes give you contrast. Analogous schemes feel harmonious. Triadic schemes add energy without going overboard.
And yeah, color psychology matters. Red creates urgency (which is why every clearance sale uses it). Blue builds trust (hence every bank logo ever). But don’t get too hung up on this. Context matters more than theory.
Contrast saves lives.
Okay, maybe not literally. But I’ve seen way too many designs with light gray text on white backgrounds. It looks sophisticated in your head. In reality? Nobody can read it.
Test your contrast. If you’re designing for accessibility, this isn’t optional. High contrast between text and background keeps your message readable for everyone.
Typography That Actually Works
I have strong opinions about fonts.
Never use more than two or three in a single design. When you’re learning how to design a poster graphic design gfxdigitational principles, this rule will save you from yourself. By incorporating essential principles such as limiting your color palette to two or three hues, you’ll find that mastering the basics is key, which is why many aspiring designers seek resources like “How to Learn Graphic Design for Free Gfxdigitational” to refine their skills. By following essential tips like limiting your color palette, you can create stunning designs while exploring resources on how to learn graphic design for free Gfxdigitational, which will greatly enhance your skills in poster graphic design.How to Learn Graphic Design for Free Gfxdigitational
Pair a bold display font for headlines with something clean for body text. Serif or sans serif, doesn’t matter. What matters is that your body font doesn’t fight for attention.
Your headline font can have personality. Your body font should shut up and let people read.
The details that separate amateurs from pros:
Kerning adjusts space between individual letter pairs. Some combinations (like “AV” or “To”) need manual tweaking because default spacing looks awkward.
Tracking controls overall letter spacing across words or sentences. Tighten it for headlines. Loosen it slightly for small text.
Leading is the space between lines of text. Too tight and your paragraphs feel cramped. Too loose and they fall apart.
These adjustments live in tools like Illustrator and Photoshop. They take seconds to fix but the difference is obvious once you know what to look for.
Most people never touch these settings. That’s why their text always looks slightly off even when everything else is perfect.
Composition and Final Polish with Digital Tools
You’ve got your concept. You’ve chosen your colors and fonts.
Now comes the part where everything either clicks together or falls apart.
Composition is where good posters become great ones. And the best part? The tools you’re already using can do most of the heavy work for you.
The Rule of Thirds & Grids
Most design software comes with grid overlays built right in. Photoshop has them. Affinity Designer has them. Even free tools like GIMP include this feature.
Here’s why that matters.
When you position your main elements along those grid lines or where they intersect, your poster just looks better. It’s not magic. It’s how our eyes naturally scan images.
I turn on my grid every single time I start a new poster. It takes two seconds and saves me from that awkward “something feels off but I can’t figure out what” moment later.
What you get: A composition that feels intentional instead of random. Your viewer’s eye moves exactly where you want it to go.
Some designers say grids are too restrictive. That they kill creativity. But breaking the rules only works when you know what the rules are first.
Balancing Your Elements
Think of your poster like a seesaw.
A big dark shape on the left side? You need something to balance it on the right. That could be several smaller objects or even just strategic white space.
This is what keeps your design from feeling lopsided or uncomfortable to look at.
When I’m working on how to design a poster graphic design gfxdigitational projects, I’ll often squint at my screen. Sounds weird, but it helps me see the visual weight without getting distracted by details.
What you get: A design that feels stable and professional. People will look at it longer because it doesn’t trigger that subtle “something’s wrong here” feeling.
Adding Texture and Depth
Here’s where you can really make your work stand out.
Subtle gradients add dimension. Light textures give your poster character. A well-placed drop shadow can lift elements right off the page.
The key word is subtle. Go too heavy and your poster looks like it’s stuck in 2005.
Most software has an Effects panel or Layer Styles menu. I spend maybe five minutes here per project. Just enough to add polish without overdoing it.
If you’re still figuring out how to learn graphic design for free gfxdigitational, experimenting with these effects is one of the fastest ways to level up your work.
What you get: That professional finish that separates amateur work from designs people actually want to print and hang up.
Exporting for Print vs. Web
This trips up almost everyone at first.
Print needs CMYK color mode. Digital screens use RGB. Export the wrong format and your colors will look completely different than what you see on screen.
For print, save as a high-resolution PDF with bleed and crop marks. Your printer will thank you. For web sharing, JPG or PNG works fine.
I keep a checklist taped to my monitor because I’ve definitely sent RGB files to the printer before. Not fun.
What you get: Your poster looks exactly how you intended, whether someone’s viewing it on Instagram or holding a physical copy in their hands. With the help of the Graphic Design Ideas Generator Gfxdigitational, your poster will maintain its stunning visual integrity, ensuring it looks exactly how you intended whether it’s being admired on Instagram or cherished as a physical copy. By utilizing the Graphic Design Ideas Generator Gfxdigitational, artists can effortlessly create visually captivating posters that retain their intended aesthetic across all platforms, from social media to print.
Your Poster is Now a Powerful Tool
You came here because you were stuck staring at a blank screen. Or maybe your designs kept coming out cluttered and ineffective.
Now you have a complete framework for creating visually stunning posters. You know how to design a poster graphic design gfxdigitational by combining timeless principles with modern digital tools.
No more guesswork.
When you focus on planning, hierarchy, color, typography, and composition, you build professional-grade posters systematically. Every time.
These techniques work because they’re based on what actually makes designs effective. Not trends that disappear in six months.
Here’s what you do next: Open your favorite design tool right now. Pick one technique from this guide to focus on. Then start creating your next poster with that confidence you’ve been missing.
You have the framework. You have the tools. Now it’s time to make something great. Homepage.