\nmy-first-website/\n├── index.html\n├── style.css\n└── /assets\n └── (images, icons, etc.)\nhtml\n
\n\n
\n \n \nHello, World!
\n\n\ncss\nbody {\n background-color: #f0f0f0;\n font-family: Arial, sans-serif;\n text-align: center;\n padding-top: 50px;\n}\n
css\n/* Tablets and above /\n@media (min-width: 768px) {\n / Adjust layout for larger screens /\n}\n\n/ Desktops and above /\n@media (min-width: 1024px) {\n / Add wider paddings, two-column layouts, etc. /\n}\n\n/ Small screens /\n@media (max-width: 767px) {\n / Stack elements vertically, adjust font sizes */\n}\n
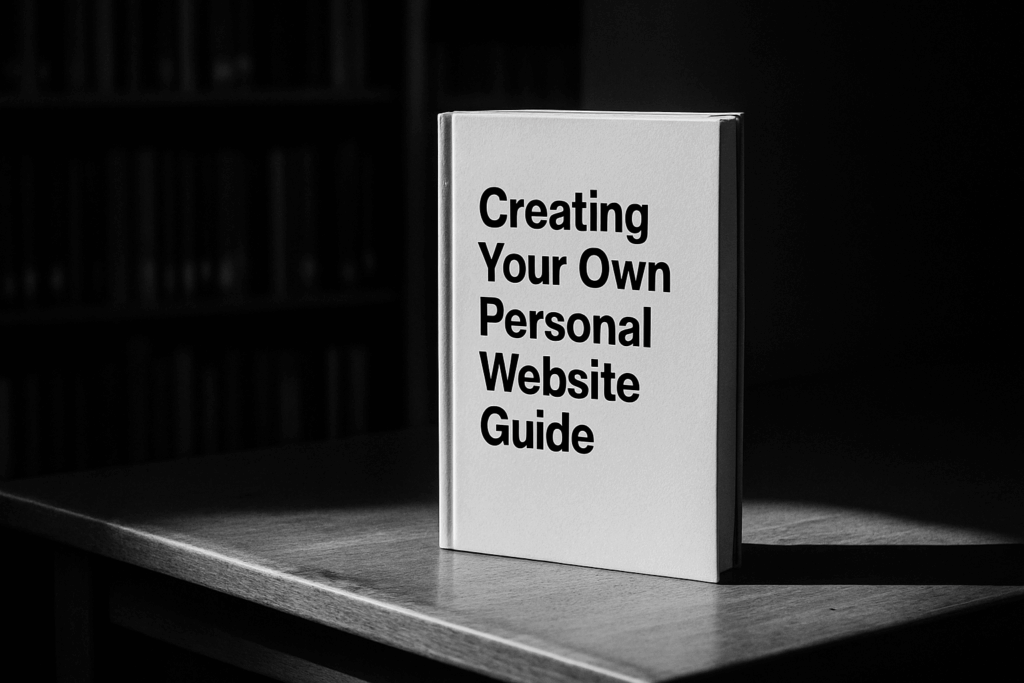
Take Control of Your Online Identity from the Ground Up
If you care about how you’re seen on the internet, you shouldn’t leave it up to social platforms and third-party tools. The best way to own your digital presence? Build the thing yourself. We’re talking about learning HTML, CSS, and just enough JavaScript to shape your message, your way. No frameworks, no bloat—just the basics that actually let you understand what’s happening under the hood.
This isn’t about becoming a full-time developer. It’s about self-reliance. Hosting your own blog, crafting a one-page portfolio, or building a minimalist site for your content—these are real skills, and they start with fundamentals. You’ll actually learn more by opening a code editor than by watching endless tutorials.
Start small. One static page. Push it live. Edit it. Break it. Fix it. The web’s not some mystery. It’s just code, and once you get hands-on, the control’s all yours.
Basic HTML: Structure, Elements & Why Semantics Matter
HTML is the skeleton of every webpage. At its core, a basic HTML document starts with a simple structure:
That’s your boilerplate. It tells the browser what version of HTML you’re using and how to interpret the content.
Inside the <body>, you add the meat: headers (<h1> through <h6>), paragraphs (<p>), links (<a href="">), and images (<img src="" alt="">). Use them intentionally. Don’t cram everything into a bunch of <div> tags with no logic.
This leads us to semantic HTML—the part that elevates a page from functional to findable and accessible. Tags like <header>, <footer>, <main>, <section>, and <article> give content meaning. They help screen readers, search engines, and future developers understand what’s going on. Search visibility and accessibility are built on these small choices.
Want to move quickly? Start with the boilerplate above, structure your page cleanly, and lean into semantic tags wherever possible. It’s not flashy, but it works—and that’s the point.
Micro-Niching for Loyal, High-Intent Audiences
Gone are the days when you needed a million random followers to succeed. In 2024, it’s all about going narrow. Vloggers are seeing better returns by talking to smaller, passionate groups—think topics like “off-grid living for introverts” or “gluten-free baking on a budget.” When you niche down, you’re not just grabbing attention; you’re building trust. And trust leads to recurring views, strong community, and real monetization.
This isn’t just theory—it’s playing out across YouTube, TikTok, and even Instagram. Creators are dropping generic trends and instead focusing on value-driven content that deeply connects. Whether it’s gear reviews for a specific hobby or lifestyle vlogs for a small but dedicated group, the takeaway is clear: high engagement beats high headcount.
When your viewers feel seen, they stick around. They comment. They share. And yes, they buy. That kind of loyalty is worth more than a fleeting viral moment.
Previewing Your Site in a Web Browser
Once you’ve written your code, it’s time to see it in action—that means pulling up your site in a browser. This isn’t just about admiring your layout; it’s about testing it like a real user would. Chrome, Firefox, Safari—all solid options. Most devs lean on Chrome thanks to its reliable developer tools, but the choice is yours.
When the site is up, open up those dev tools (usually with a right-click > “Inspect” or hitting F12). Here’s where you can check how your CSS is behaving, move things around on the fly, and test tweaks without touching your source code. Pay close attention to margins, font sizes, responsiveness—anything that looks off should be inspected here.
As for beginner bugs? You’ll run into them. Common ones include forgetting to link your CSS file, missing closing brackets in stylesheets, and typos in class names that silently break your layout. Another classic: caching issues. If changes aren’t showing up, try a hard refresh (Cmd+Shift+R or Ctrl+Shift+R).
Bottom line: treat your browser as your sandbox. Break things, fix them, and learn fast.
Simple Deployment Using GitHub Pages
If you’re a creator building a portfolio, personal brand site, or vlogging resource hub, GitHub Pages is the simplest way to get something live fast. It’s free, it integrates directly with your code repository, and it doesn’t require any backend setup or DevOps know-how. Push your HTML/CSS/JS to a branch, enable GitHub Pages in your repo settings, and you’ve got a working site. That’s it.
But beyond deployment, version control with Git matters—even if you’re just starting. You’ll thank yourself later for keeping track of what changed and when. Small wins like “Which version of my blog broke the layout?” or “When did I add that newsletter signup?” become easier to answer. On top of that, version control makes you a better collaborator—and prevents those painful accidental overwrites.
If terms like branch, commit, or push still sound like another language, start here: How to Use Git and GitHub – A Step-by-Step Tutorial. Being comfortable with Git isn’t optional anymore—it’s just part of showing up as a modern web creator.
Tools & Resources That Give You an Edge (Without Killing Your Budget)
You don’t need a Hollywood budget to make standout vlogs. Free assets are everywhere, if you know where to look. For fonts, check out Google Fonts and DaFont—both are solid for clean, versatile typefaces. For icons, sites like Feather, Tabler Icons, and Heroicons offer open-source, high-quality sets. Stock images? Unsplash, Pexels, and Pixabay cover most needs without watermarks or weird licensing catches.
Now, let’s talk speed. Nothing kills viewership like a sluggish video or a blog page with clunky code. Clean HTML, compressed image files, and minimalist CSS keep your content light and fast. It’s subtle, but that few-seconds-faster load time keeps people around—and algorithms notice it too.
If you’re serious about leveling up, plug into learning sites like freeCodeCamp, Coursera, or even YouTube itself. Focus on editing techniques, storytelling, and maybe a bit of front-end dev. Skill compounds. You don’t need to master it all—but knowing enough to be dangerous? That’s power.
You just built your first website from scratch. That’s a big move—most people don’t even get that far. But the next steps matter just as much. You’ve got the basics down, now it’s about adding features that bring your site to life.
Start with interactivity. Learn JavaScript—just enough to make buttons do something, make forms behave, or build a modal that doesn’t look like it came from 2004. JavaScript isn’t optional anymore; it’s the glue that makes websites feel human.
Next, think about your domain. If you’re still on a platform subdomain (like mycoolsite.webhost.io), it’s time to level up. A custom domain signals you’re serious—and it makes sharing your site way easier.
Feeling ambitious? Dive into a lightweight front-end framework like Astro, Svelte, or even React. But don’t drown in tooling if your foundation isn’t strong yet—tools are only as useful as the problems they solve for you.
Lastly, get something live. Don’t wait for perfection. Publish, test, break things, fix them, try again. Real progress comes from shipping, not just tweaking in silence.